
Getting Started - Client Installation
Installing Additional Alienbrain Clients
The Alienbrain server installation will install an Alienbrain client on the same machine as the server. When evaluating Alienbrain this is often sufficient, but if you wish to evaluate Alienbrain alongside other team members (or if you have purchased Alienbrain licenses), please follow the steps in this article.
Note: The evaluation copy is supplied with licenses for two Alienbrain clients. Any client which does not connect to a project will not consume a license, so it is possible to install clients on two additional machines during the evaluation (if not using the Client on the server machine). To acquire an evaluation license for more than two users, please contact [email protected].
Alienbrain Client Installation
Open the network icon in a Windows file explorer, and select the server where Alienbrain has been installed. Run the alienbrainClient.exe file in the ab_Inst folder. Note: The installer files can also be found in the Installations folder of the Alienbrain download.

Run the client installer
A pop up will ask if you want to allow this app to make changes on your device. Select YES.
Click Yes
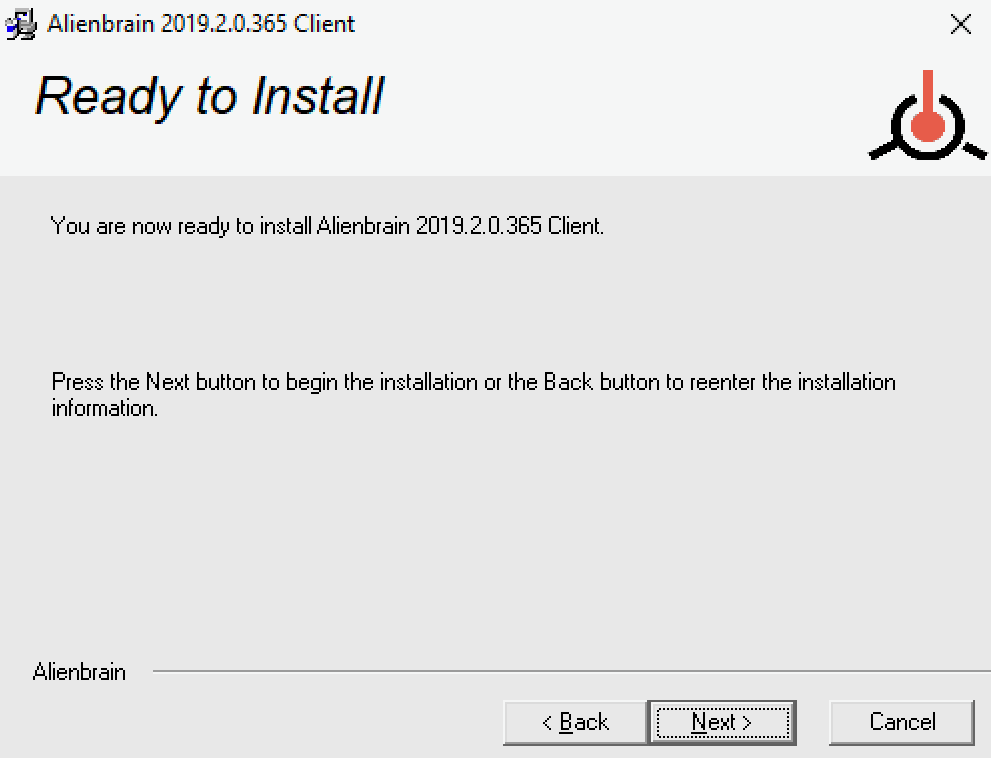
Alienbrain will now run the Intstallation Wizard. Click Next, and accept the license agreement.

Accept and Click "Next"

Click "Next"
If you wish to specify the location of the Alienbrain Installation directory, select the Custom installation type, otherwise select the Typical option.

Click Next
Next select the Client Type required. The features of each client type are listed on our pricing page: Client Features.

Click Next
Alienbrain is integrated with several creation tools: 3ds Max, Maya, Photoshop, Unreal Engine, and Visual Studio. Select the integrations you wish to install (the tools must already be installed on the client machine), and click Next.

Select required integrations and Click Next
Choose whether to add a link to the Admin Client in the start menu, and click Next to start the installation.
Click "Next to install"

Click "Next"
When the installation is complete, the windows machine will reboot.
Note: If the new client is installed on a machine where an Alienbrain client had previously been installed (e.g during an upgrade), then the installer may need to run a second time after the reboot (a message will let you know if this is required).

Click ok to reboot the machine
In this case, after the reboot, the second part of the installation may run automatically. If it doesn't - execute the alienbrainClient.exe file again.

Click "Finish" to complete""

Click "Next" to start Part 2 of the installation
The client can now be run from the link on the desktop or from the Alienbrain folder in the Windows start menu. If it is a new install, you will need to follow the steps to configure the client in the Getting Started - Client Configuration section of this quick start guide.
Next:
Configure the Alienbrain Client:
CLIENT CONFIGURATION